Process
Outlined below in both a simplified and detailed description is our typical workflow.
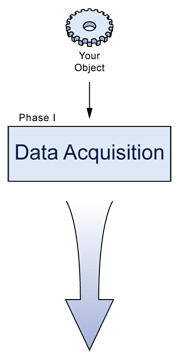
Phase 1 - Data Acquisition |
|
 |
Laser Scanning (Non-Contact)Laser Scanning is the process of shining a structured laser line over the surface of an object in order to collect 3-dimensional data. The surface data is captured by a camera sensor mounted in the laser scanner which records accurate dense 3D points in space. Types of laser scanners include:
Digitizing (Contact)Digitizing is the process of taking point-by-point measurements of X, Y, and Z coordinates until enough data is captured to build geometric surfaces. There are 3 types of digitizing tools:
|
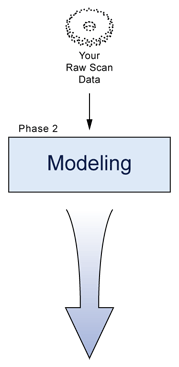
Phase 2 - Modeling |
|
 |
Reverse EngineeringReverse Engineering is the process of measuring a part or object and then creating a CAD model of the part/object that reflects how it was to be designed originally. Reverse engineering formats include:
Digital ModelingDigital modeling is the process of creating a computer model of an object using a 3D laser scanner that exactly replicates the form of the object. Digital models can be created in the following formats:
|
Phase 3 - Downstream Applications |
|
 |
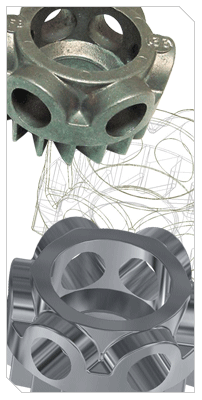
Documentation/ArchivalAfter your part or object has been laser scanned and modeled you now have a digital "backup" of your part. This digital model will:
Re-Engineering/DesignUsing your digital model you can make engineering and design changes of your part or object in a variety of ways:
Inspection/AnalysisUsing our advanced laser scanning and reverse engineering tools and processes, Direct Dimensions can inspect and analyze your part or object in a variety of ways:
Replication/ReproductionAfter we have laser scanned or reverse engineered your part, or if you have provided us with a model, we have virtually limitless options for replicating that object. Replication can be used for:
Visualization/AnimationOnce a project has been completed by our engineers, we have the ability to deliver your model as part of a visualization or animation. You can also give us a completed model and we can make a visualization for you in a variety of formats:
|


